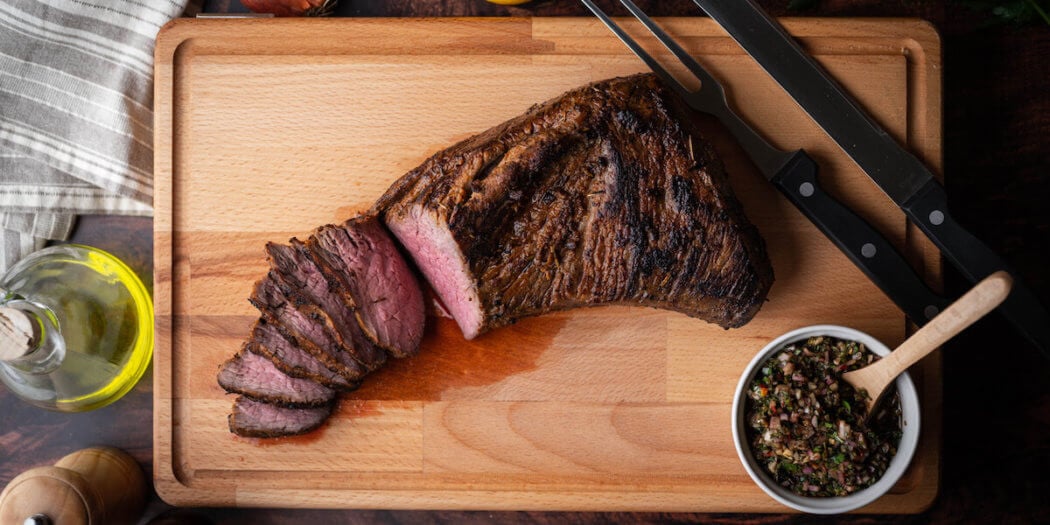
Tri-tip is a popular and delicious cut of beef that can be prepared in various ways. Whether you prefer it smoked or reverse seared on the Traeger, the tenderness of the tri-tip largely depends on how it is sliced after cooking. In this article, we will guide you through the process of how to cut a tri-tip correctly to achieve tender and flavorful slices every time.
Understanding the Unique Grain of Tri-Tip
One little-known fact about the tri-tip is that it consists of two different grain directions. This can make slicing it correctly a bit more challenging compared to other cuts of meat. Roughly half of the steak consists of vertically oriented fibers, while the remaining portion is comprised of long muscle fibers angled diagonally. You can easily observe this grain pattern when the meat is in its raw state before seasoning.
How To Cut A Tri-Tip: Steps to Cutting Tri-Tip Properly
To ensure the perfect tenderness and texture of your tri-tip, follow these steps when slicing it after it has been cooked to your desired doneness:
- Allow the Tri-Tip to Rest: Once you remove the Tri-Tip from the Traeger, let it rest for at least 5 minutes. This resting period permits the juices to redistribute within the meat, resulting in a more flavorful and succulent steak
- Identify the Grain Intersection: Locate where the two-grain patterns intersect on the tri-tip. Cut vertically at this point, effectively splitting the roast into two pieces. You may choose to have one side slightly longer than the other, but this step is optional
- Inspect and Slice Against the Grain: Examine the grain pattern on each piece of the severed tri-tip. It is essential to slice perpendicular to the grain for maximum tenderness. This means cutting across the fibers rather than parallel to them. By doing so, you shorten the length of the muscle fibers, making the piece of meat easier to chew
- Opt for Thin Slices: Aim to cut thin slices of tri-tip for the ultimate tenderness. Thin slices are more desirable than thicker ones, as they offer a more delicate texture and allow the flavors to mingle harmoniously. So, sharpen your knife and aim for precision
- Use a Slight Angle: When slicing the tri-tip, angle your knife slightly. This technique is commonly known as cutting “on a bias.” It helps to create wider slices with a larger surface area, enhancing the overall presentation of the meat and facilitating a more enjoyable eating experience
Mastering The Art of Tri-Tip Slicing
By following these simple tips for cutting tri-tip, you can ensure that each slice is tender and bursting with flavor. Your guests will be delighted by the melt-in-your-mouth texture, and you might even earn the title of the “Pit Boss of Steak.” Don’t hesitate to experiment with different tri-tip recipes and share your beautifully sliced creations with us.
Conclusion: How To Cut A Tri Tip
Knowing how to cut tri-tip correctly is the key to achieving tender and delectable slices. The unique grain pattern of this cut requires slicing against the grain for optimal tenderness, and thin slices are preferred over thicker ones. By following our step-by-step guide, you can master the art of slicing tri-tip and elevate your steak game to new heights. Impress your guests with a perfectly tender tri-tip and savor the satisfaction of a well-done job.


